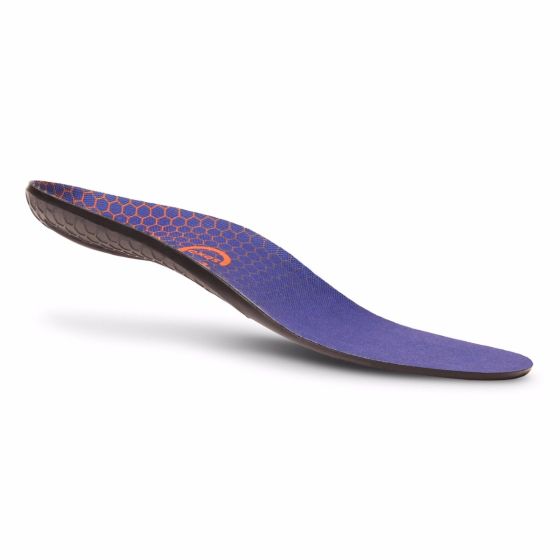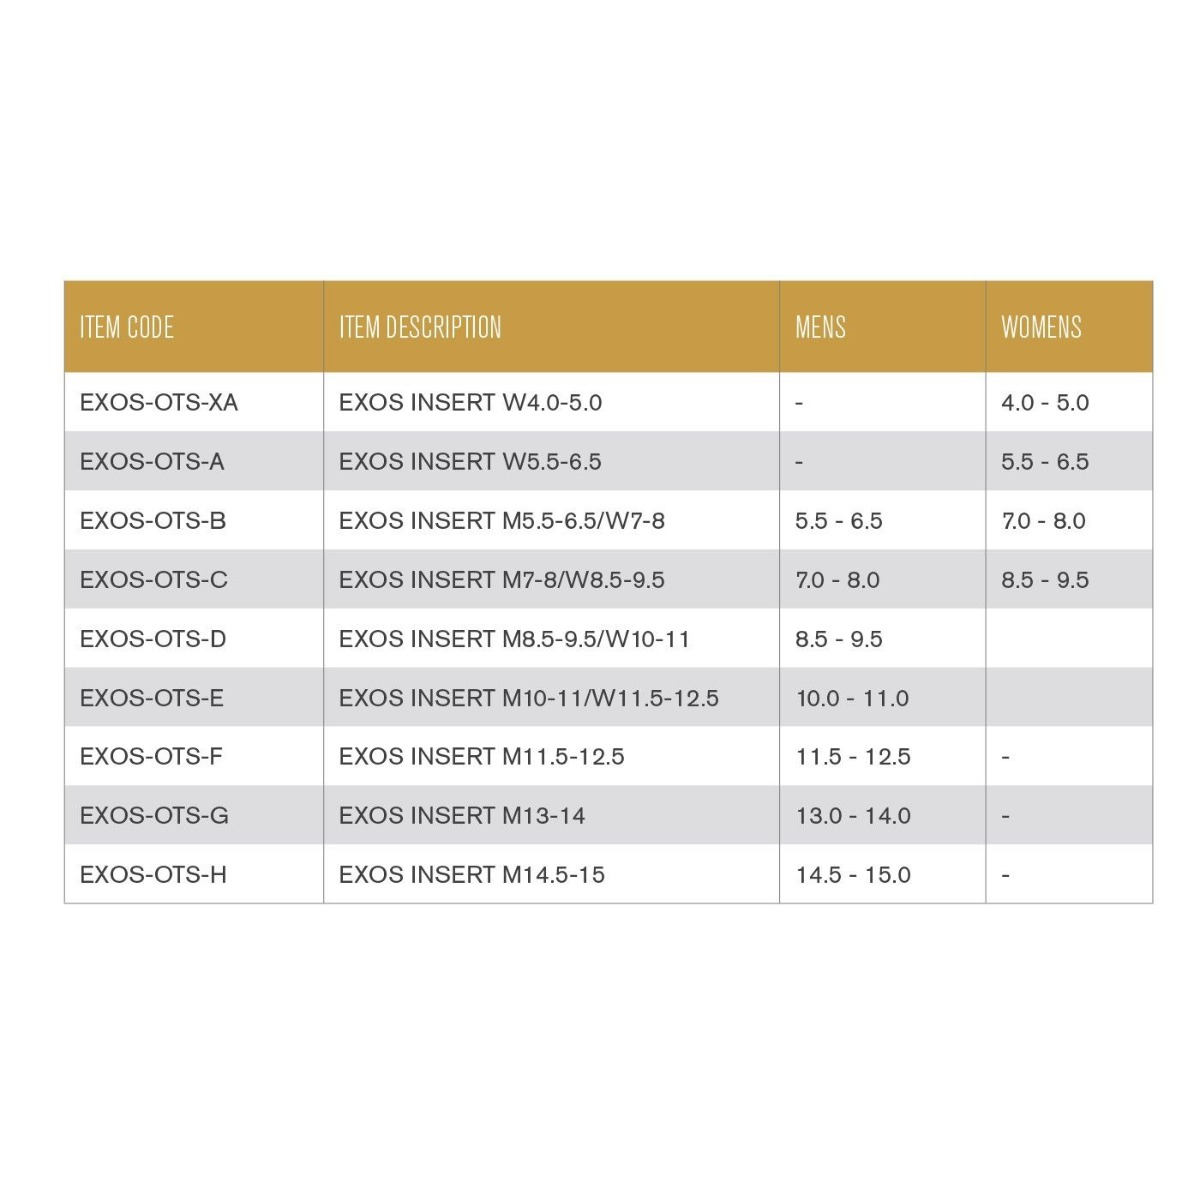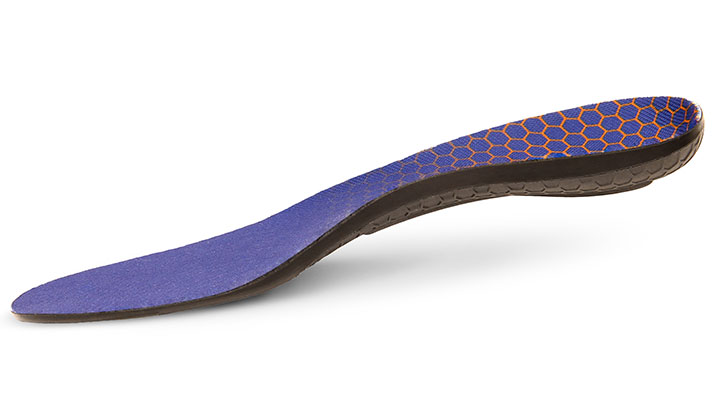
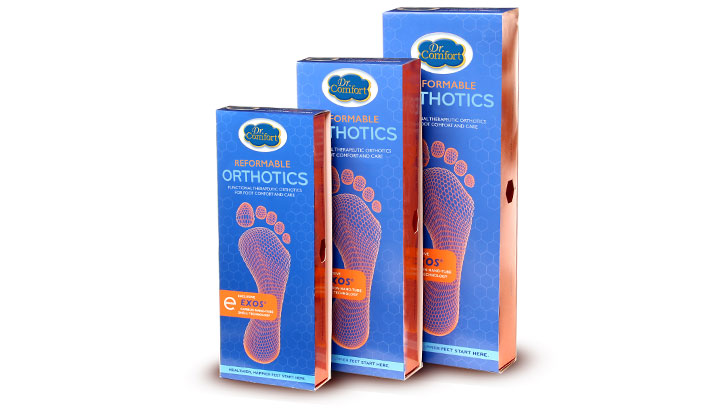
Enjoy a more personal fit with our EXOS® orthotics. Our functional therapeutic orthotics are a smart investment for those hoping to improve the fit of their shoes.
Features & Benefits
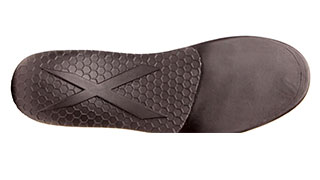
Proprietary EXOS® base layer for added arch support
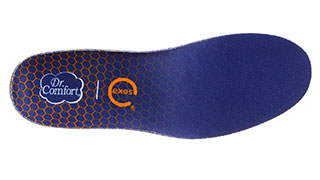
Top cover is quick drying and durable
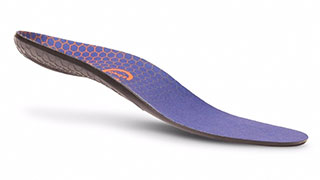
PU Foam midlayer helps with shock absorption and temperature control
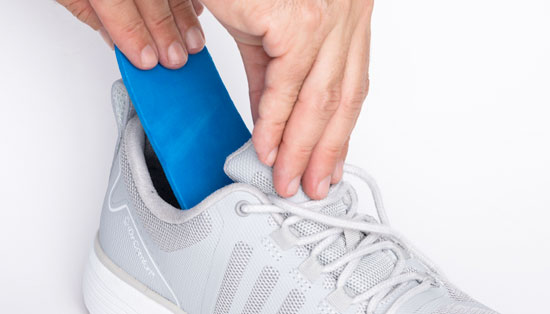
Remove the top factory inlay from your existing shoe
Most shoes have removable inlays.
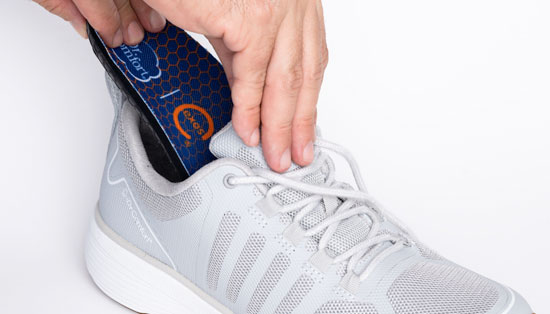
Insert the EXOS Orthotic into your shoe
Grab each side of the EXOS, pull in with your hand making a u-shape of the EXOS. Insert into shoe until the nose of the EXOS is fully into your shoe.
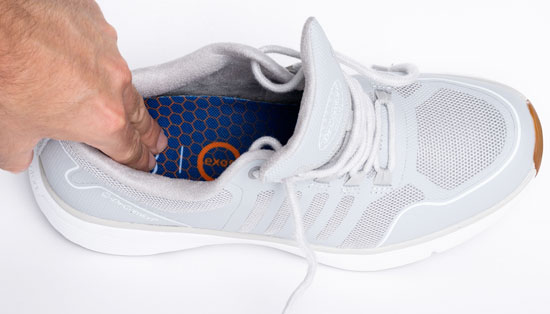
Push the heel portion of the shoe down
Until it sits all the way back against the heel seat of the shoe. There should be little to no gaps between the EXOS and the shoe.
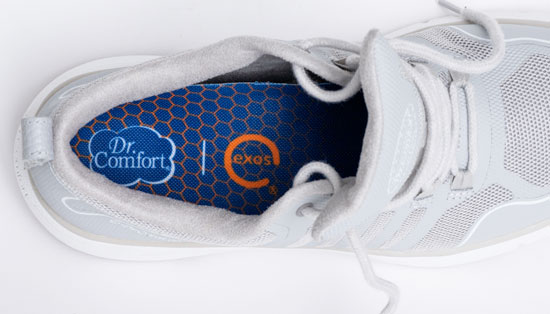
Adjust the EXOS
If the orthotic is too big and material flaps are coming up around the side of the shoe making it uncomfortable, you can adjust the EXOS by cutting away some of the excess sides. Using scissors, remove the excess portion of the EXOS on the sides until you get the desired fit.
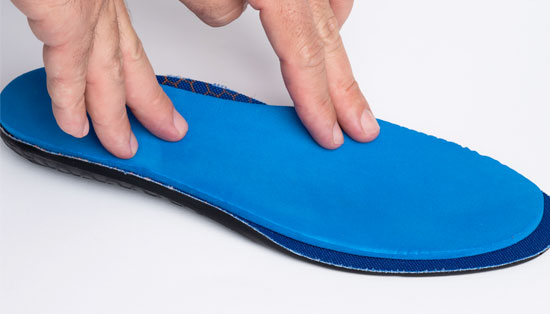
Place the top factory inlay atop the EXOS® Orthotic
Lining up the heel and toe respectively.
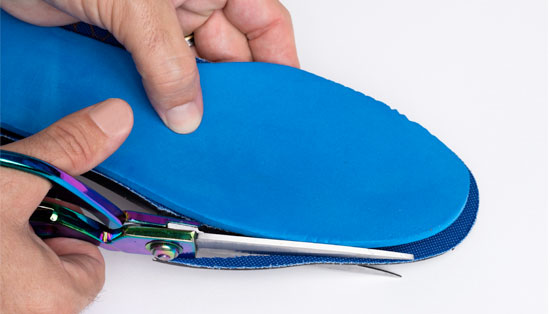
Cut away the excess material
Using sharp scissors, cut away the excess material around the front portion of the orthotic.
Notes: In the first week, it is recommended to break-in orthotics otherwise you may experience unwanted symptoms such as knee, hip or foot pain as your foot gets used to this new formation around your foot. Day one wear them one hour, on day 2, two hours and so on until you get to the eighth day when you can wear them all the time.

